How to download and Install Visual Studio for C# in windows
How to Download and Install Visual Studio for C# in Windows
Microsoft Visual Studio is an integrated development environment (IDE) from Microsoft. It is used to develop computer programs for Microsoft Windows. Visual Studio is one stop shop for all applications built on the .Net platform. One can develop, debug and run applications using Visual Studio.
Both Forms-based and web-based applications can be designed and developed using this IDE. Below is a step by step process on how to install Visual Studio.
How to Download and Install Visual Studio
for Windows
Let’s look at the Visual Studio installation steps and download Visual Studio IDE so that we can work with creating programs in the subsequent tutorials. In this tutorial, we will learn how to download Visual Studio for Windows.
Step 1) Download Visual Studio

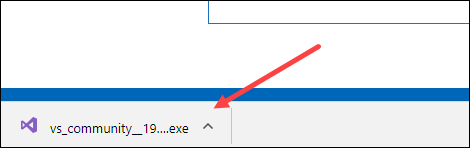
Step 2) Open the .exe file
Click on the downloaded exe file
Step 3) Start the installation
In the next screen, click continue to start Visual Studio installation

Step 4) Let the installation complete
Visual Studio will start downloading the initial files. Download speed will vary as per your internet connection.

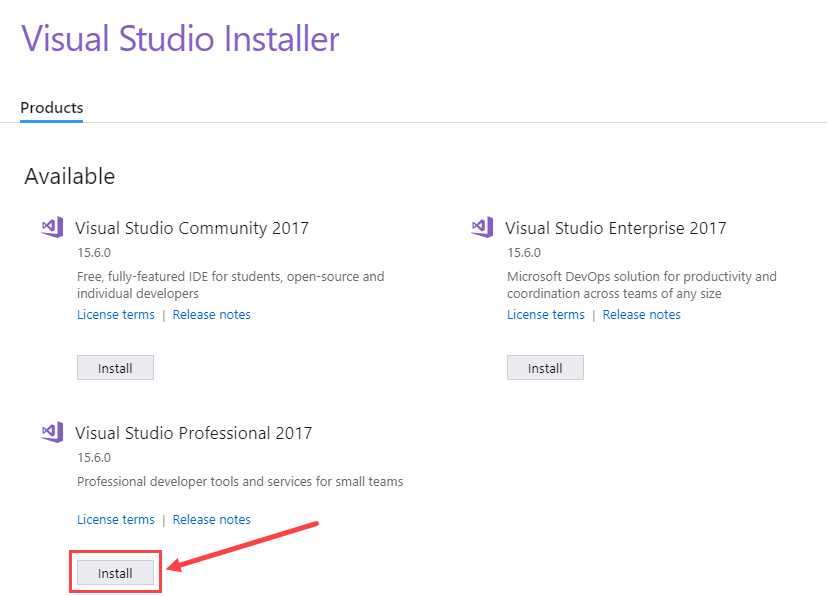
Step 5) Choose the software version
In next screen, click install
Step 6) Select the desktop version
In next screen,

- Select “.Net desktop development”
- Click install
Step 7) Wait for the files to be downloaded
Visual Studio will download the relevant files based on the selection in step 6

Step 8) Reboot your PC
Once the download is done, you will be asked to reboot the PC to complete Visual Studio setup

Step 9) Open Visual Studio
Post reboot, open the Visual Studio IDE

- Select a theme of your choice
Click Start Visual Studio
Step 10) Start using Visual Studio
In Visual Studio IDE, you can navigate to File menu to create new C# applications.

That’s it to Visual Studio for C# installation.
Visual Studio Key Features
Here are the key features of Visual Studio:
- Creation of an application in any .Net language– The Visual Studio IDE can be used to create an application in any .Net language. Hence, a developer can use C#, VB.Net or even F# to develop an application.
- Creation of any application type – The Visual Studio IDE can be used to create an application of any type. (Web-based application or Windows Forms-based application).
- Debug Applications on the fly – Applications can be tested as they are being built. The IDE allows one to run the program at any point of time during the development process. Hence, a developer can check for any errors during the development phase itself.
- Extensions –The IDE has the facility to install third-party extensions. An example can be Subversion, which is used for source code repository management. Subversion is used to upload code to a central repository. This is done so that a copy of the code will always exist. Visual Studio has the facility to integrate with such software from the IDE itself. Hence, a developer can work with code repositories from the IDE itself.


Comments
Post a Comment